Selling tours through FareHarbor
7 min readTable of Contents
- Case study: Cobble Tales, Edinburgh
- How it works
- What you will need
- Step-by-step setup
- 1. Create your voucher codes in VoiceMap
- 2. Create a retail item in FareHarbor
- 3. Add download instructions to the confirmation email
- 4. Set up a campaign with your VoiceMap codes
- 5. Configure the code generator (unique codes only)
- 6. Test the full flow
- 7. Optional: absorb the booking fee
- Ongoing management
- A note on FareHarbor support
- Need help?
If you already have a website with traffic, you can sell your VoiceMap tours directly through it using a booking platform like FareHarbor. When set up correctly, FareHarbor takes payment from your customer, automatically emails them a VoiceMap voucher code, and requires no manual work from you after the initial setup.
This approach means you keep more of each sale. When a tour is purchased through the VoiceMap app, Apple or Google takes 30% of the sale price. When you sell through your own website using voucher codes, you avoid that cut entirely. Your costs are limited to the price of VoiceMap download credits plus FareHarbor's booking fee.
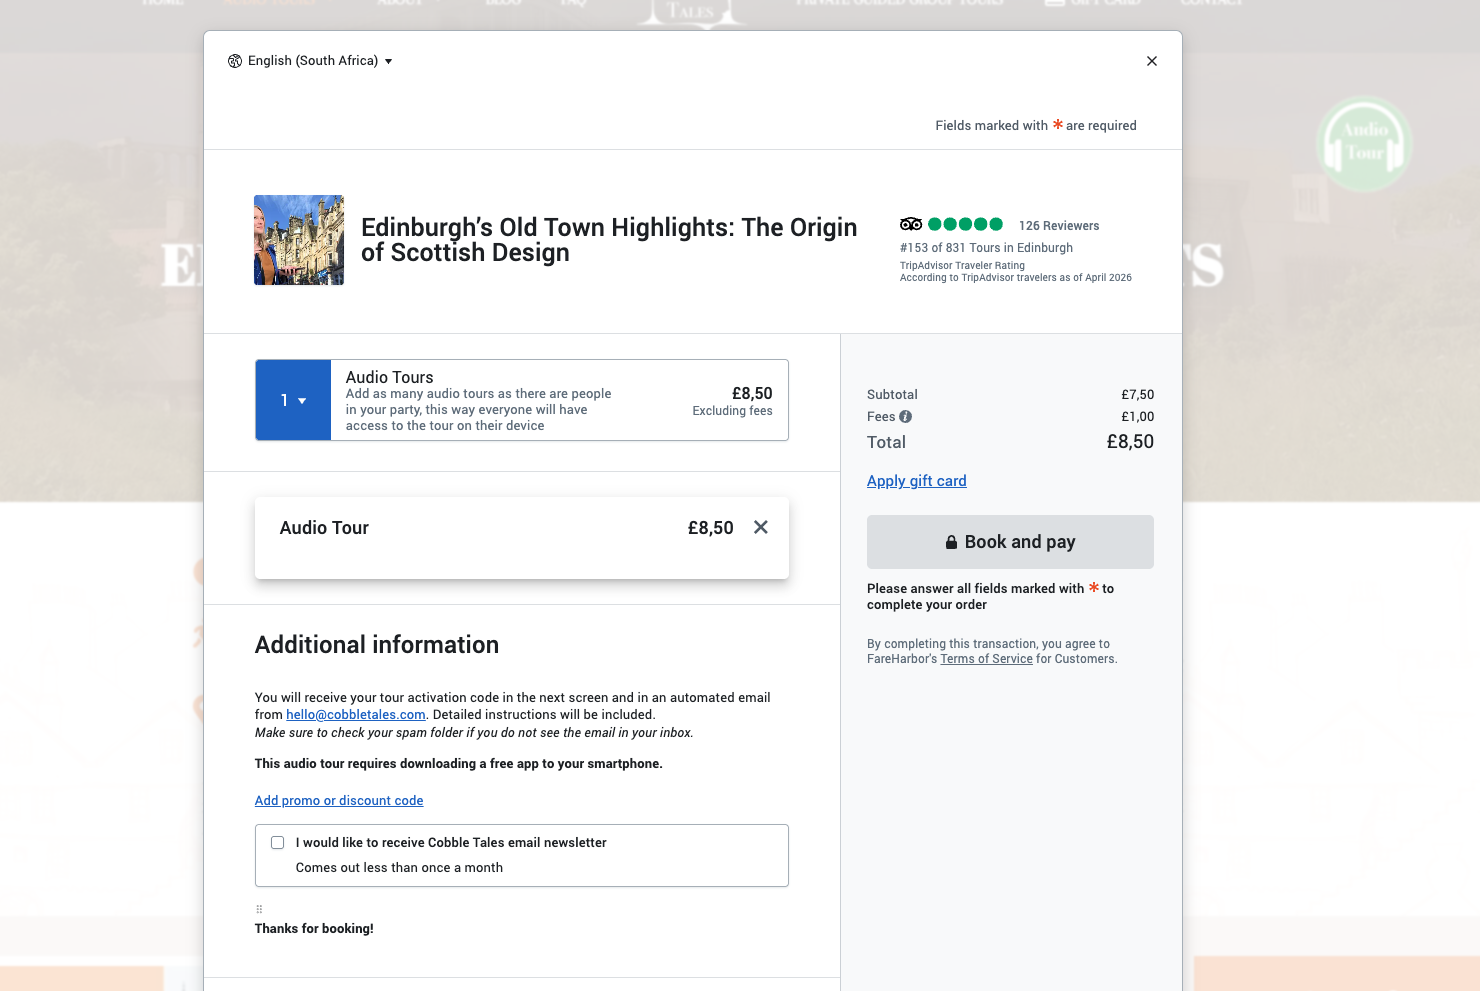
Case study: Cobble Tales, Edinburgh
Olga from Cobble Tales – an architecture-focused tour publisher in Edinburgh – set this up in 2021 and has been selling three VoiceMap audio tours through her own website ever since. The integration has run automatically for five years with no intervention beyond occasionally topping up her credit balance.
Her setup uses FareHarbor's retail item and campaign code features to distribute VoiceMap voucher codes at checkout. It is a workaround rather than a native FareHarbor feature, but it has proved robust over years of real-world use.

How it works
- You create voucher codes in your VoiceMap publisher dashboard
- You import those codes into FareHarbor as campaign codes
- Your audio tour is listed on FareHarbor as a retail item (no date selection required)
- When a customer purchases the item, FareHarbor's confirmation email includes a voucher code and download instructions
- The customer enters the code in the VoiceMap app and downloads the tour
After the initial setup, you only need to monitor two things: your VoiceMap credit balance and, if you are using unique codes, your supply of unused codes in FareHarbor.
What you will need
On the VoiceMap side:
- Enough download credits in your balance. Each time someone redeems a voucher code, one credit is deducted. Credits cost between $0.31 and $2.00 each depending on your plan.
- Voucher codes for each tour you want to sell. You can create these in the Vouchers section of your publisher dashboard.
On the FareHarbor side:
- A FareHarbor account. FareHarbor does not charge a monthly subscription – it adds a booking fee to the customer's total at checkout, typically around 6%, though this varies. Contact FareHarbor for current pricing.
Step-by-step setup
1. Create your voucher codes in VoiceMap
You have two options:
Unique codes – Create a batch of single-use codes (one download per code) and import them into FareHarbor. Each purchase sends the customer a different code. This is more secure but means you need to top up the FareHarbor campaign with fresh codes periodically.
Shared code – Create a single code with a high download limit and configure FareHarbor to include the same code in every confirmation email. This is simpler to maintain. The theoretical risk is that customers could share the code, but in practice we have not seen this happen.
If you use unique codes, consider using a recognisable prefix – for example, codes starting with "FH" – so you can easily track which redemptions came through FareHarbor. If you use a shared code, make it look random (e.g. ED2845WE rather than EDINBURGH-TOUR) so customers are less likely to share it casually.
For unique codes, export the list as a CSV. You will import this into FareHarbor in the next steps.
For full details on creating and managing voucher codes, see Using voucher codes.
2. Create a retail item in FareHarbor
Set the audio tour up as a retail item in FareHarbor. Retail items are designed for products like gift cards and merchandise – they do not require a date or time selection. Your customers will see a "Buy" button instead of a "Book" button.
Set the item name, description, price, and images. Since a retail item does not include a location in the confirmation email, include the tour's starting point in the item description.
3. Add download instructions to the confirmation email
FareHarbor's item confirmation notes appear in the email sent to the customer after purchase. Include VoiceMap download instructions here. For example:
How to access your audio tour:
- Install VoiceMap from the Apple App Store or Google Play
- Create an account
- Select Tour Codes from the menu, then select Enter Codes
- Enter the code included in this email, then select Download Now
Your code is not case sensitive. Download the tour before you set off for the starting point. Remember to bring your own headphones.
For technical support, email [email protected]
4. Set up a campaign with your VoiceMap codes
Create a campaign in FareHarbor and add your voucher codes.
If using unique codes: Import the codes by copy-pasting from the CSV you exported from VoiceMap. When a customer purchases the tour, FareHarbor sends them one unused code from this campaign. Under the campaign settings, set maximum uses to 0 – this value changes to 1 automatically after a code is sent.
If using a shared code: Add the single VoiceMap code to the campaign. FareHarbor will include the same code in every confirmation email.
5. Configure the code generator (unique codes only)
If using unique codes, find the code generator settings in FareHarbor's custom fields and set maximum uses to 1. This ensures each code is only sent to one customer.
Note that FareHarbor uses the term "maximum uses" in two places – the campaign settings and the code generator custom field – and they control different things. Both need to be configured correctly.
6. Test the full flow
Buy your own tour through your website to confirm everything works: purchase, confirmation email, voucher code delivery, and successful redemption in the VoiceMap app. There are several moving parts, so testing is essential.
7. Optional: absorb the booking fee
FareHarbor shows its booking fee as a separate line item at checkout. If you prefer a cleaner checkout experience, you can enable the "eat the fee" option in FareHarbor's custom fields and adjust your listed price to include the fee.
Ongoing management
Once set up, the integration runs without manual intervention. Keep an eye on:
Your credit balance – If your credits run out, voucher codes will stop working when customers try to redeem them. You can check your balance on the Credit Balance tab of your publisher dashboard. Credits expire after 12 months (or 90 days on monthly plans), so monitor your expiry dates and top up before credits lapse. See Using download credits for free tours and voucher codes for details.
Your FareHarbor campaign codes (unique code approach only) – If all imported codes have been distributed, new purchases will not receive a code. Generate more codes in VoiceMap, export them, and import them into the FareHarbor campaign. This is not an issue with the shared code approach.
A note on FareHarbor support
The steps above are based on a setup first documented in 2021. FareHarbor's interface may have changed since then. We recommend working with FareHarbor's support team during setup – they can walk you through the current dashboard and help you get the retail item, campaign, and code generator configured correctly.
Need help?
If you run into any issues with the VoiceMap side of this setup – creating voucher codes, purchasing credits, or troubleshooting redemptions – contact your editor or email [email protected].