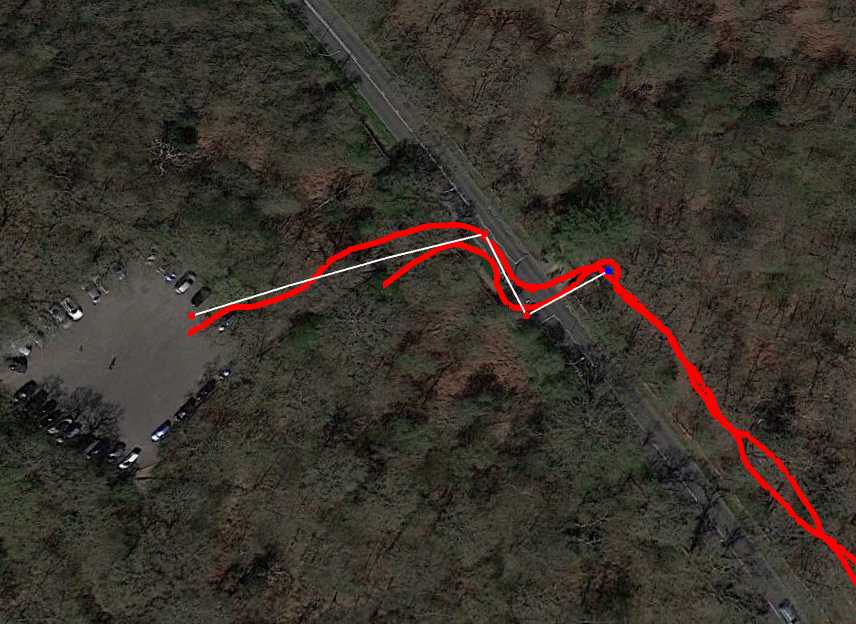
For longer tours, such as driving tours where a KML file has been uploaded, you might find the map page taking very long to load, or not loading at all. This is due to the amount of points in the route line. In this case, you’ll need to reduce the number points in the route line. This will enable the map to load properly.
There are two ways to go about this. For shorter routes, it’s sometimes easier to just redraw over the existing route using Google Earth, and exporting that as a KML file. The other way is more involved but makes sense for longer routes where it is less efficient to redraw over the existing route. Below are instructions on both ways. If you’re unsure about how to do this or need assistance, just get in touch with your editor.
Reducing nodes by redrawing a route in Google Earth #
- Open the file in Google Earth (it will zoom on to the path of the KML).
- Click the Add Path icon at the top of the screen. It’s the one with the three dots and lines in between.
- A screen will pop up saying Untitled Path. Drag it out of the way for now. You’ll come back to it.
- Your mouse will turn into a target icon. Click on the start of the route.
- Now trace of the route line by clicking on it and following it. Try make the spaces between each node as large as possible. This is how you are reducing the amount of nodes. (See the example image below).
- Use the arrow keys on the keyboard to move around the map as you trace. If you make a mistake, press and hold the control key, then click a node to delete it.
- When you’re done, bring back the New Path box, name your path and click Ok.
- Untick the box next to the original KML file.
- Right click on your new path, click Save place as.., select .KML and name it.
- Upload the new KML file via Mapmaker

Reducing nodes with GPS Visualiser #
- Open the file in Google Earth
- Click to dropdown menu arrow to display the trackpoints and placemarks
- Right click the track and choose Save to My Places
- In the My Places folder, right click the track and Save place as – in KML format
- Go to link for GPS visualiser: https://www.gpsvisualizer.com/map_input?form=googleearth
- Choose File #1 and import it.
- Rename Google earth doc name
- Set Tracepoint distance threshold: set to 25
- Set Max points for track: This might require some experimenting – but 1 hour usually works out to 650- 800 points
- Create the KML file and download it
- Add the file in Google Earth
- Click the dropdown menu arrow by the name and save the track to My places or drag it up. It needs to be out of the folder.
- Choose Get info – then delete info in Description
- Then choose Save places and save to desktop as – KML format
- Upload that KML on the front end of the tour.
