Adding photos to tour locations
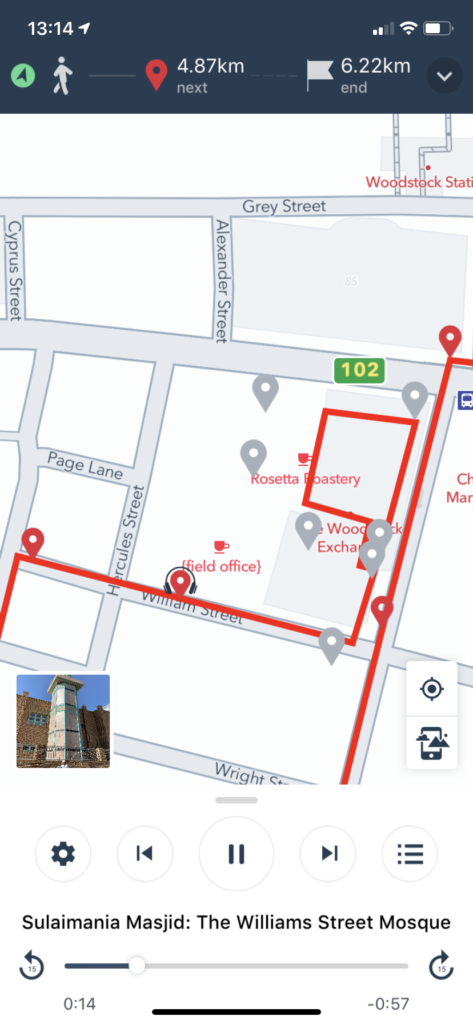
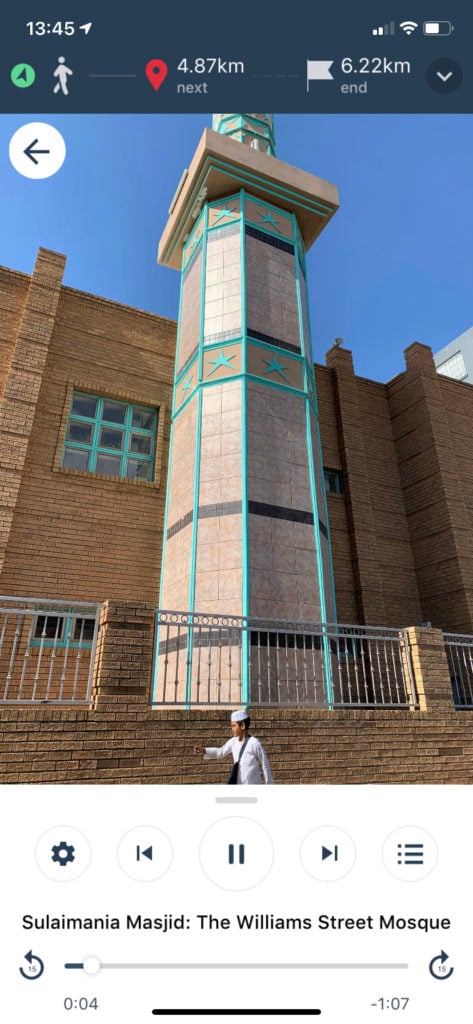
5 min readEach location on your tour can have up to five photos displayed on the listener's screen. Here's an example from a tour called Starting up in Woodstock:
 |
 |
|---|
It's best to use photos selectively. Even though you can upload up to five photos per location, it doesn't mean you have to. Only upload images that are useful or highlight something special. You could show:
- What a site or location looked like in the past
- A close up of a particular detail on an object or building
- A photo of a person or subject being talked about
- An interior shot of a building
- A wide angle shot to give perspective on a subject from afar
If you didn't take a photo yourself, or you don't own the copyright, please make sure you have permission to use it.
Using Creative Commons images
You can also use Creative Commons images, but these normally require attribution. (These credits can be added to the tour description).
To find Creative Commons images using a Google search, follow these steps:
- Search for an image in Google Images
- Below the search box, click 'Search tools' A new menu will appear – click 'Usage rights'
- Then select 'Creative Commons Licenses'.
Now every image you see is free to use and can be cropped appropriately.
If you're unsure of what could work best for a specific location, feel free to get in touch with us and we can try and help.
How to add photos to a location
Before sending us your photos or uploading them yourself, please do the following:
- Name all the photos using the location number and name, e.g. 02-munich-old-town-hall.jpeg. This will help us identify which photo belongs to which location.
- If you are uploading multiple photos to the same location, along with specifying the location number and name, add a number for the order, e.g. 02-munich-old-town-hall-1.jpeg, 02-munich-old-town-hall-2.jpeg
- The photos will display as either square or portrait, depending on the screen. The minimum / ideal width is 640px. The maximum file size per image is 2MB.
- Try to balance file size and photo quality. Large files make your tour slower to download. 1MB is the sweet spot.
For new tours
To add an image to a location: In the Your Script tab, click to expand it and select Images and 'Choose File(s). Make sure to click Save Location. 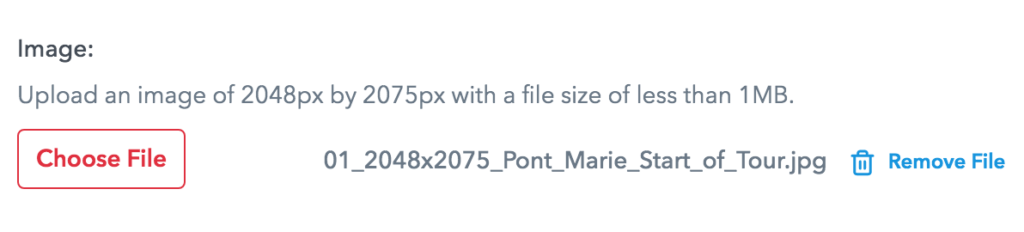
For published tours
To send us photos for a tour that has already been published, please use a file transfer site like Swisstransfer.
For a featured location
Once your tour is published or ready for publishing, you can also choose a featured location. Listeners can preview the featured location before downloading the tour.
How to Set Up Your Featured Location:
- Open your publisher dashboard and scroll down to the list of Your Tours.
- Click on the Distribution button next to the specific tour.
- Open Featured Location.
- Choose your ideal featured location from the list. (This will automatically load the audio for this location as a preview.)
- Add up to five images.
- Click Save.
How to crop images in Mapmaker
You can crop the image you plan to upload directly in Mapmaker before you save it. Once you've chosen a file, the built-in crop tool will appear.
Here's how to use it:
- Click "Choose File(s)" to select your image, which will appear in the "Edit Image" pop-up window
- Use the crop handles to select the portion of the image you want to keep, moving the frame around to find the best composition
- Adjust your image as needed, zooming in or out and straightening the image using the sliders on the right
- Click "Save" to apply your crop
The cropping tool is especially useful when you want to highlight specific details or remove unnecessary elements from photos. For a full list of all image sizes.
How to resize a photo to fit the size requirements
Make sure the photos you upload or share with us are in the correct size before you upload or send them.
On Windows:
- Open the image in the Photos app.
- Click on the three dots in the top-right corner and select 'Resize'.
- Choose the 'Pixels' option.
- Slide the curser under 'Quality' to the left, until the 'New' size shown at the bottom is smaller than 2MB
- Save the image and upload.
On MacOS:
- Open the image in the Preview app.
- Choose 'Tools', and 'Adjust Size', then select 'Resample image' (if it's not pre-selected).
- Enter a smaller value in the 'Resolution' field.
- The new size is shown at the bottom.
You can also use other tools including MS Paint, Photoshop, or free online tools like this one.