
Use print media
8 min readVoiceMap tours might be digital products, but because they're so closely tied to the real world, posters and other printed media are often an effective way to increase sales.
When we've approached businesses and other organisations, asking if they'll display a poster, they're normally thrilled to hear that they've already been mentioned, at no cost, on a tour that passes by their door.
Create printed materials in MapMaker
Every tour comes with three ready-to-print designs that you can customise and download yourself, on any plan: an A4 poster, a DL flyer and a square mini card.
Each design includes details pulled directly from your tour description and a QR code. When someone scans the code, it opens your tour in the VoiceMap app if they have it installed, or on voicemap.me if they don't.
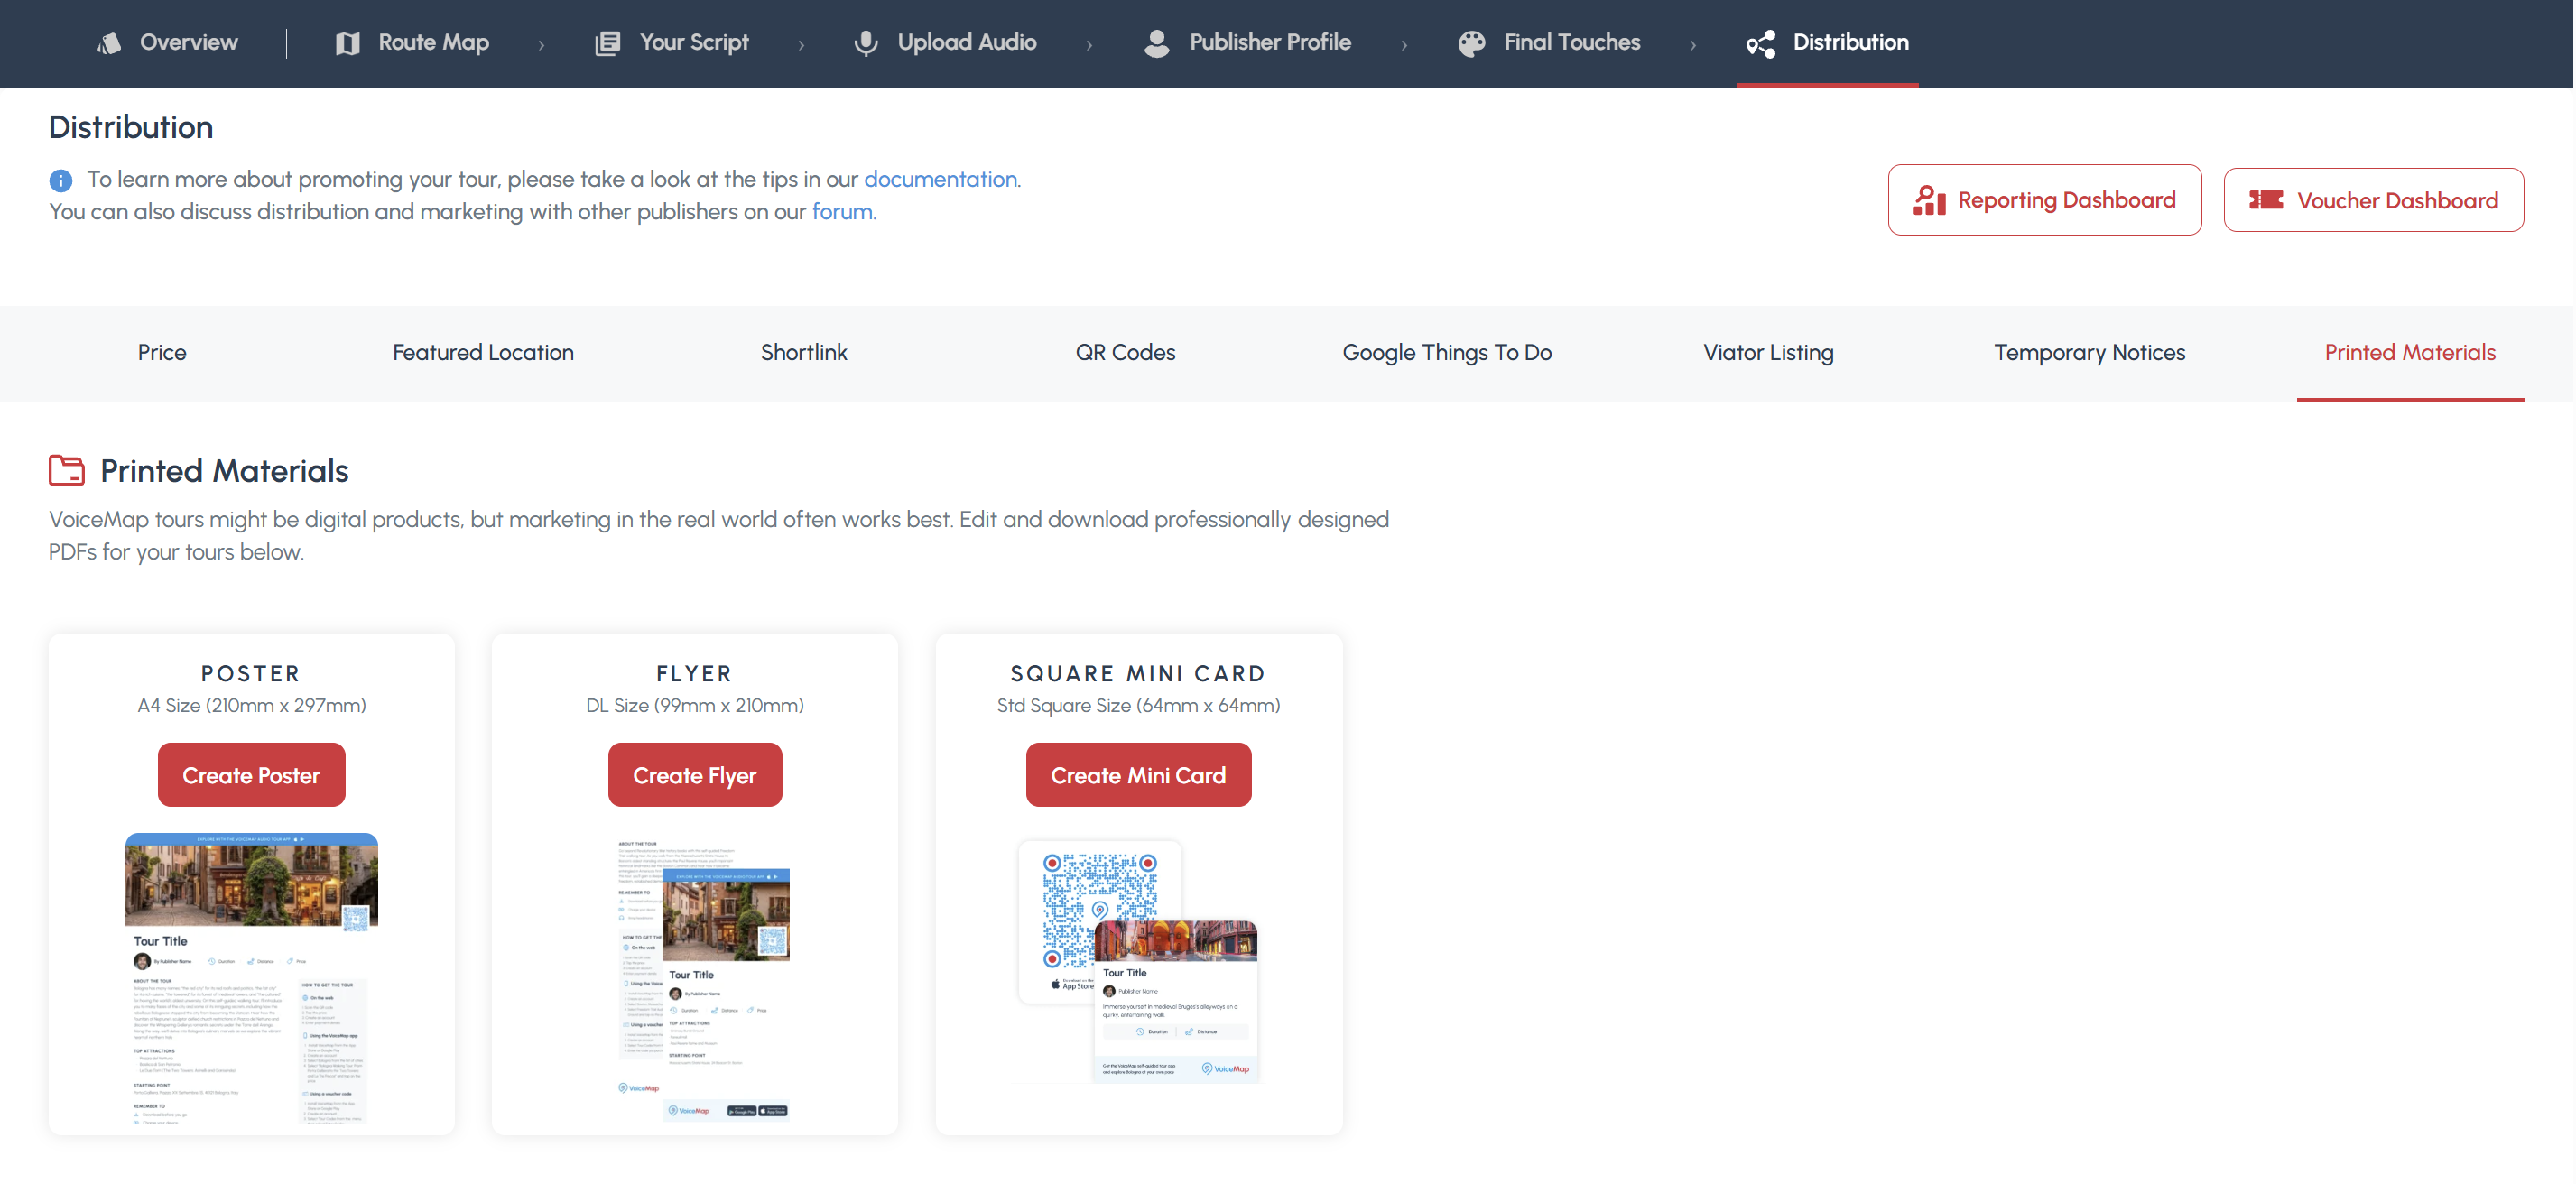 An example of where to find the A4 poster, DL flyer, and square mini card in the distribution tab
Changes you make here only apply to your printed materials. They don't update your published tour, and changes to your tour don't update a design you've already downloaded. If your tour's title, price, duration or publisher details change, come back, click Update and download new PDFs.
Before you print in bulk, ask your local printer for a proof copy and check it carefully. VoiceMap is not liable for third-party printing or formatting errors.
Poster
The A4 poster 210 x 297mm (8.3 x 11.7in), and single-sided. Here’s an example:
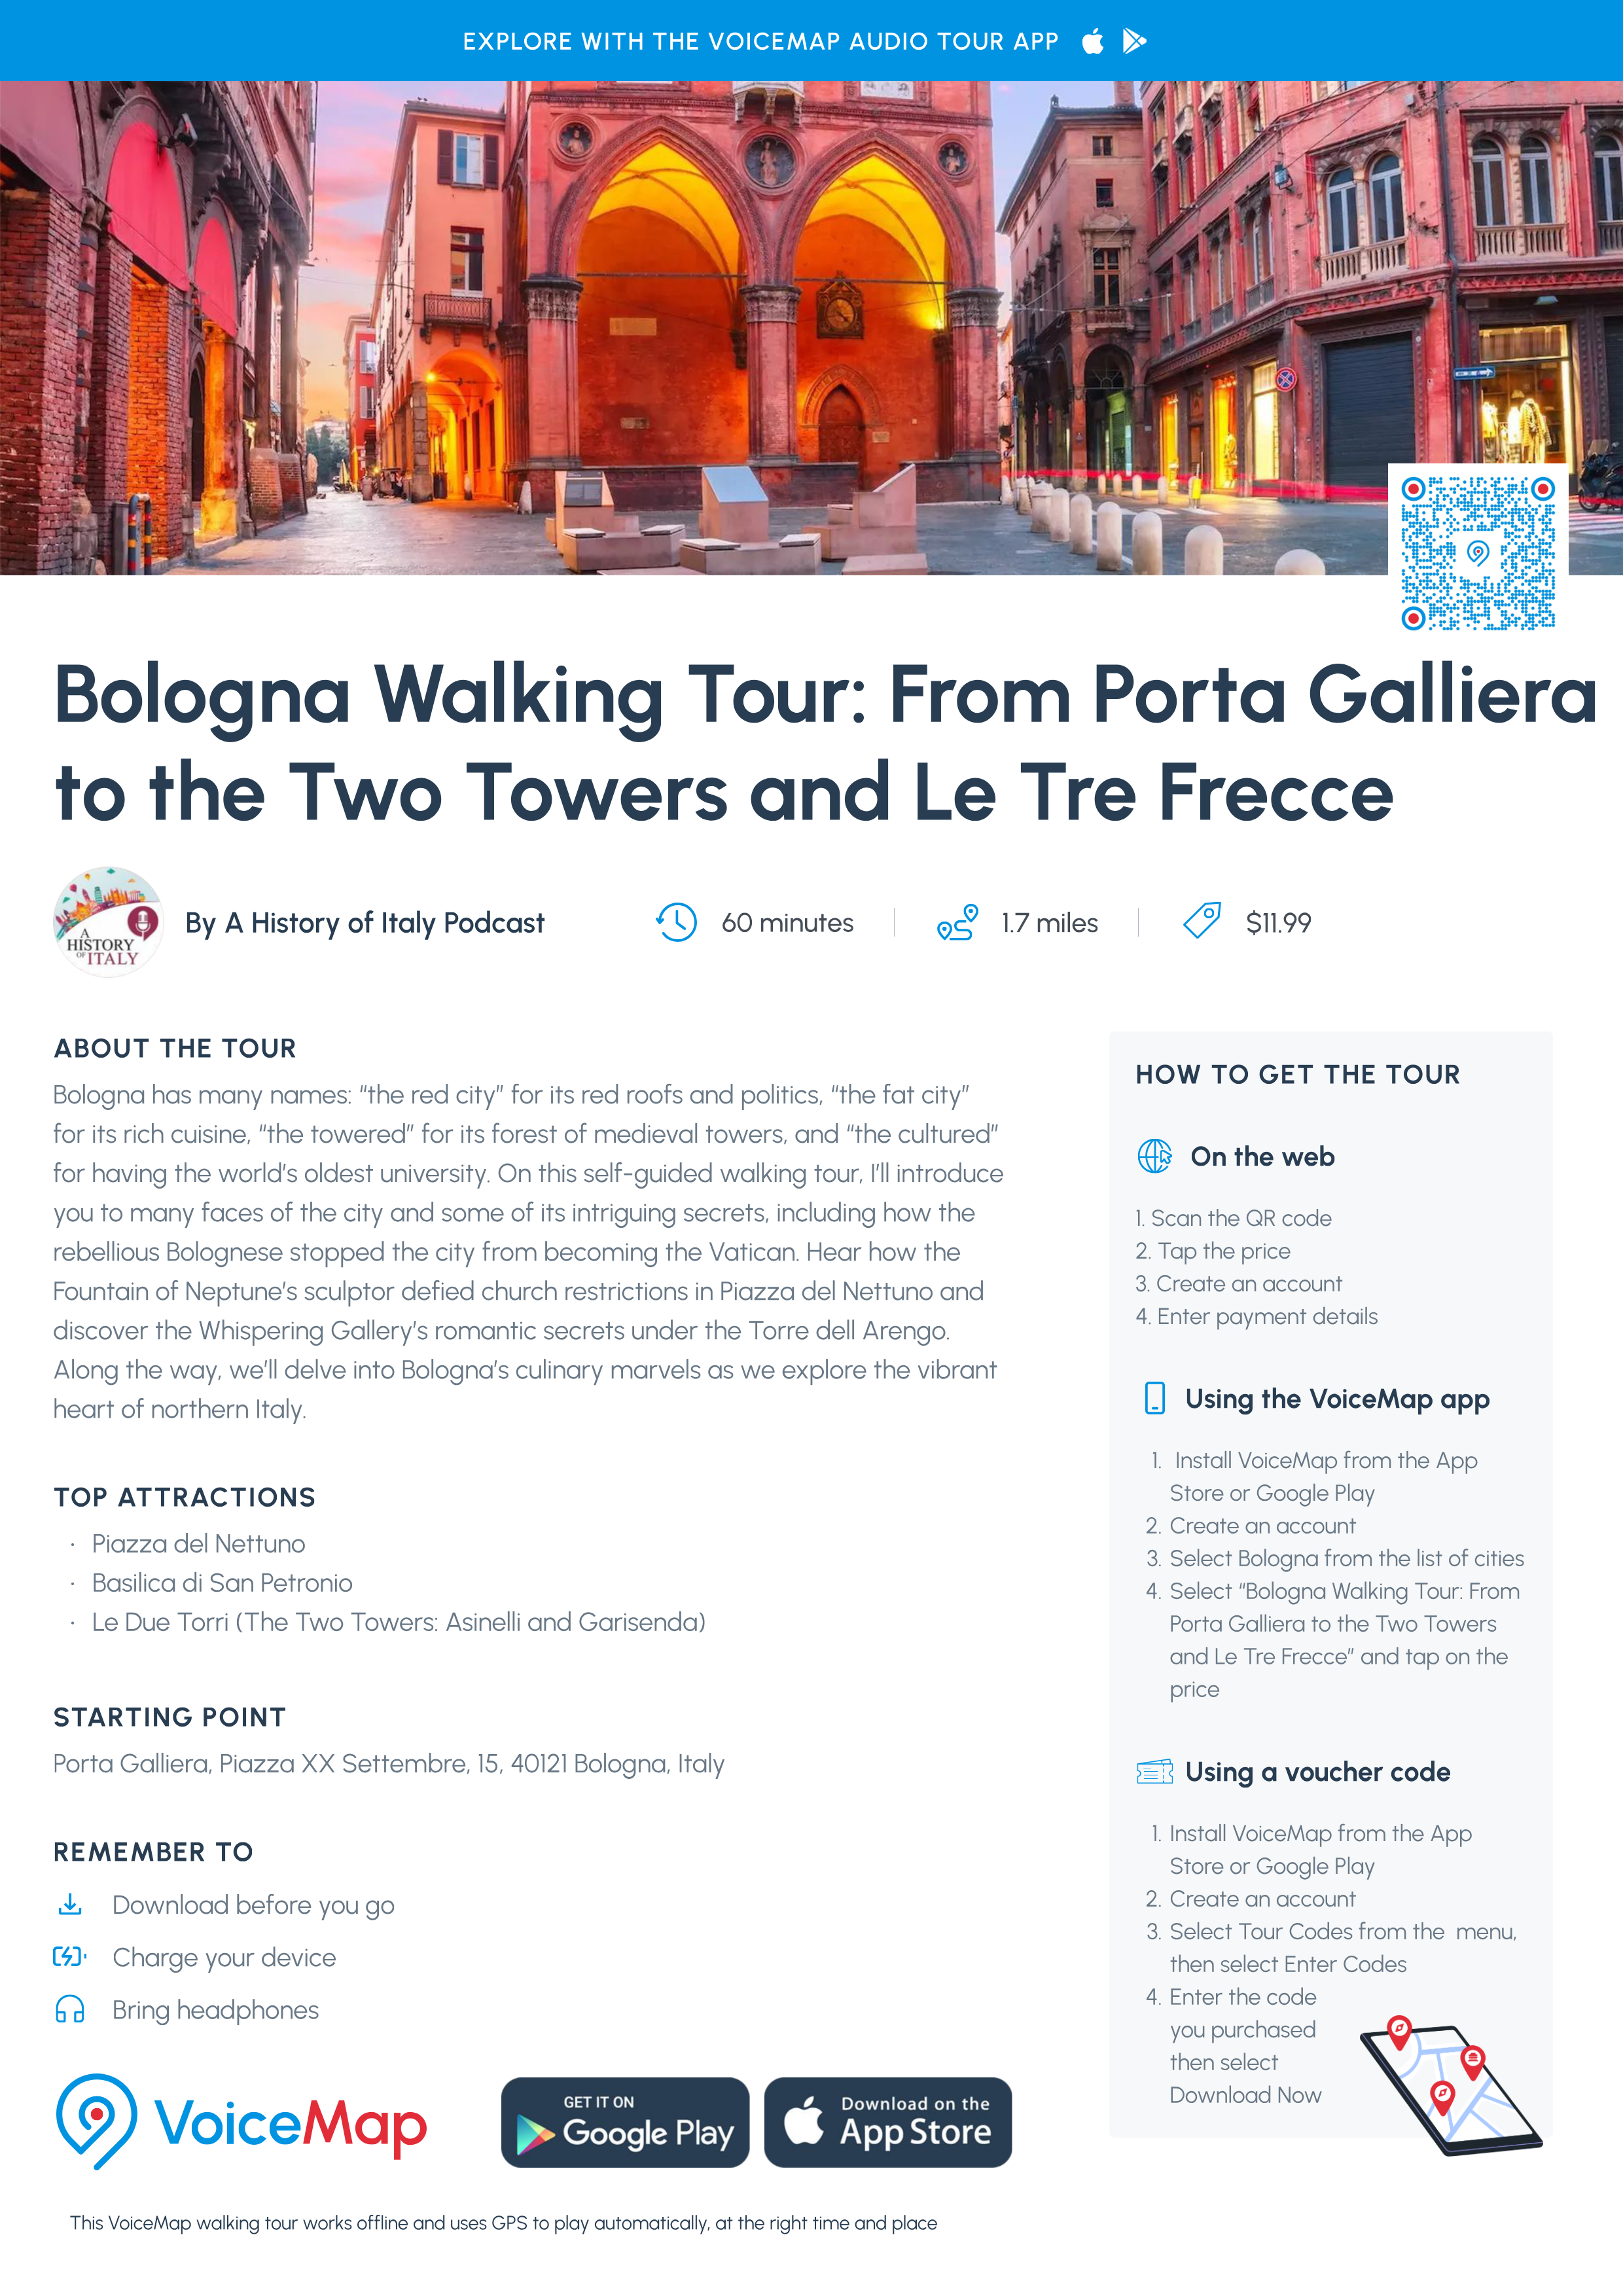
To create your poster
- Open your tour in MapMaker, go to the Distribution tab and click the Printed Materials tab, on the far right.
- Click Edit Poster.
- Check the fields, which are filled in from your tour automatically, and add your Tour Attractions (see below).
- Click Update to refresh the preview, then Enlarge Preview to check the details. Your changes aren't saved until you click Update, so do this before you leave the page.
- Click Download PDF.
You can customise these fields
- Cover Image: Use your tour's cover image, or upload a high-resolution JPG (1920 x 622px, under 2MB). Avoid AI-generated images so your materials reflect the real tour.
- Tour Title: There's a 55-character limit. Keep it recognisable as the same tour but shorter than your full title, and try including words like "audio tour" or "self-guided".
- Publisher and Publisher Picture: These come from your publisher profile. To change them, update your profile, then click Update here.
- Duration and Distance: Keep these consistent with your final touches. Duration has a 16-character limit so it prints on one line.
- Price: This defaults to your tour's price in US dollars. To show the price in your destination's currency, select the currency from the dropdown and enter the amount. You can check your tour's price in that currency on voicemap.me, using the currency selector next to My Account.
- About the tour: Write a short, single paragraph of up to 500 characters. Cover your tour's main themes and its start and end points, and make it clear that it's a self-guided walking tour.
- Starting Point: Use the same address or landmark as in MapMaker, so people don't arrive in the wrong spot. There's a 70-character limit, so write an address rather than directions.
- Tour Attractions: Choose three recognisable, specific landmarks from the Major Landmarks list you set up for your tour. Each one has a 25-character limit.
Flyer
The DL flyer is 99 x 210mm (3.9 x 8.3in), and has two sides, which you edit and download as two separate PDFs. Here’s an example:
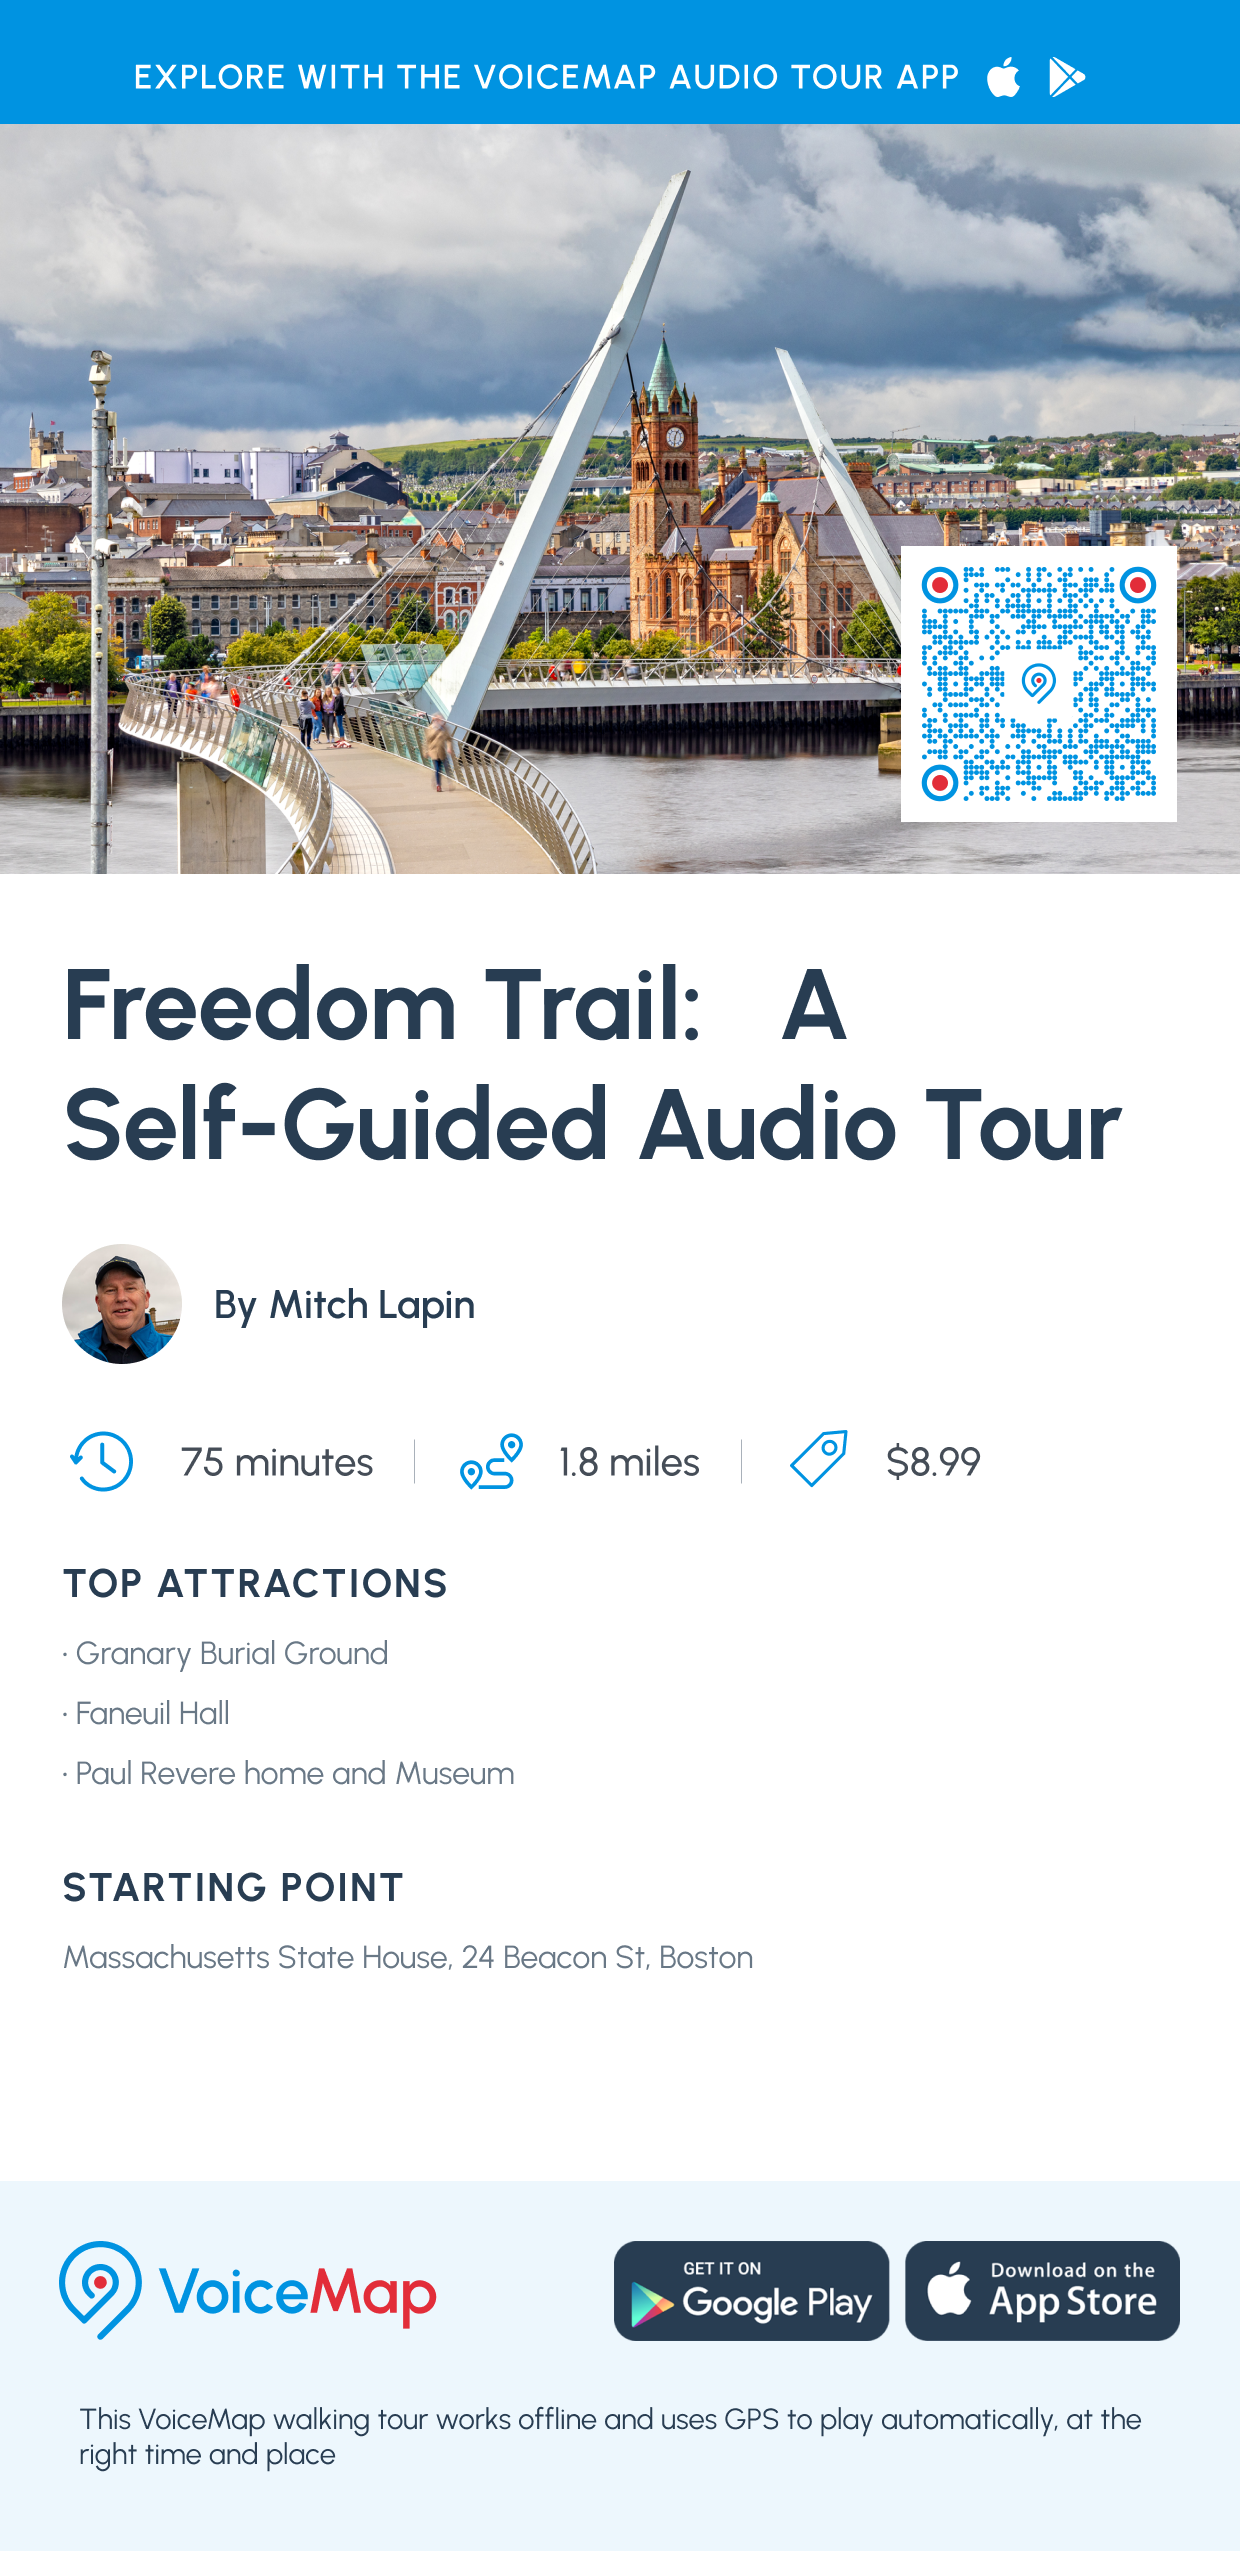 |
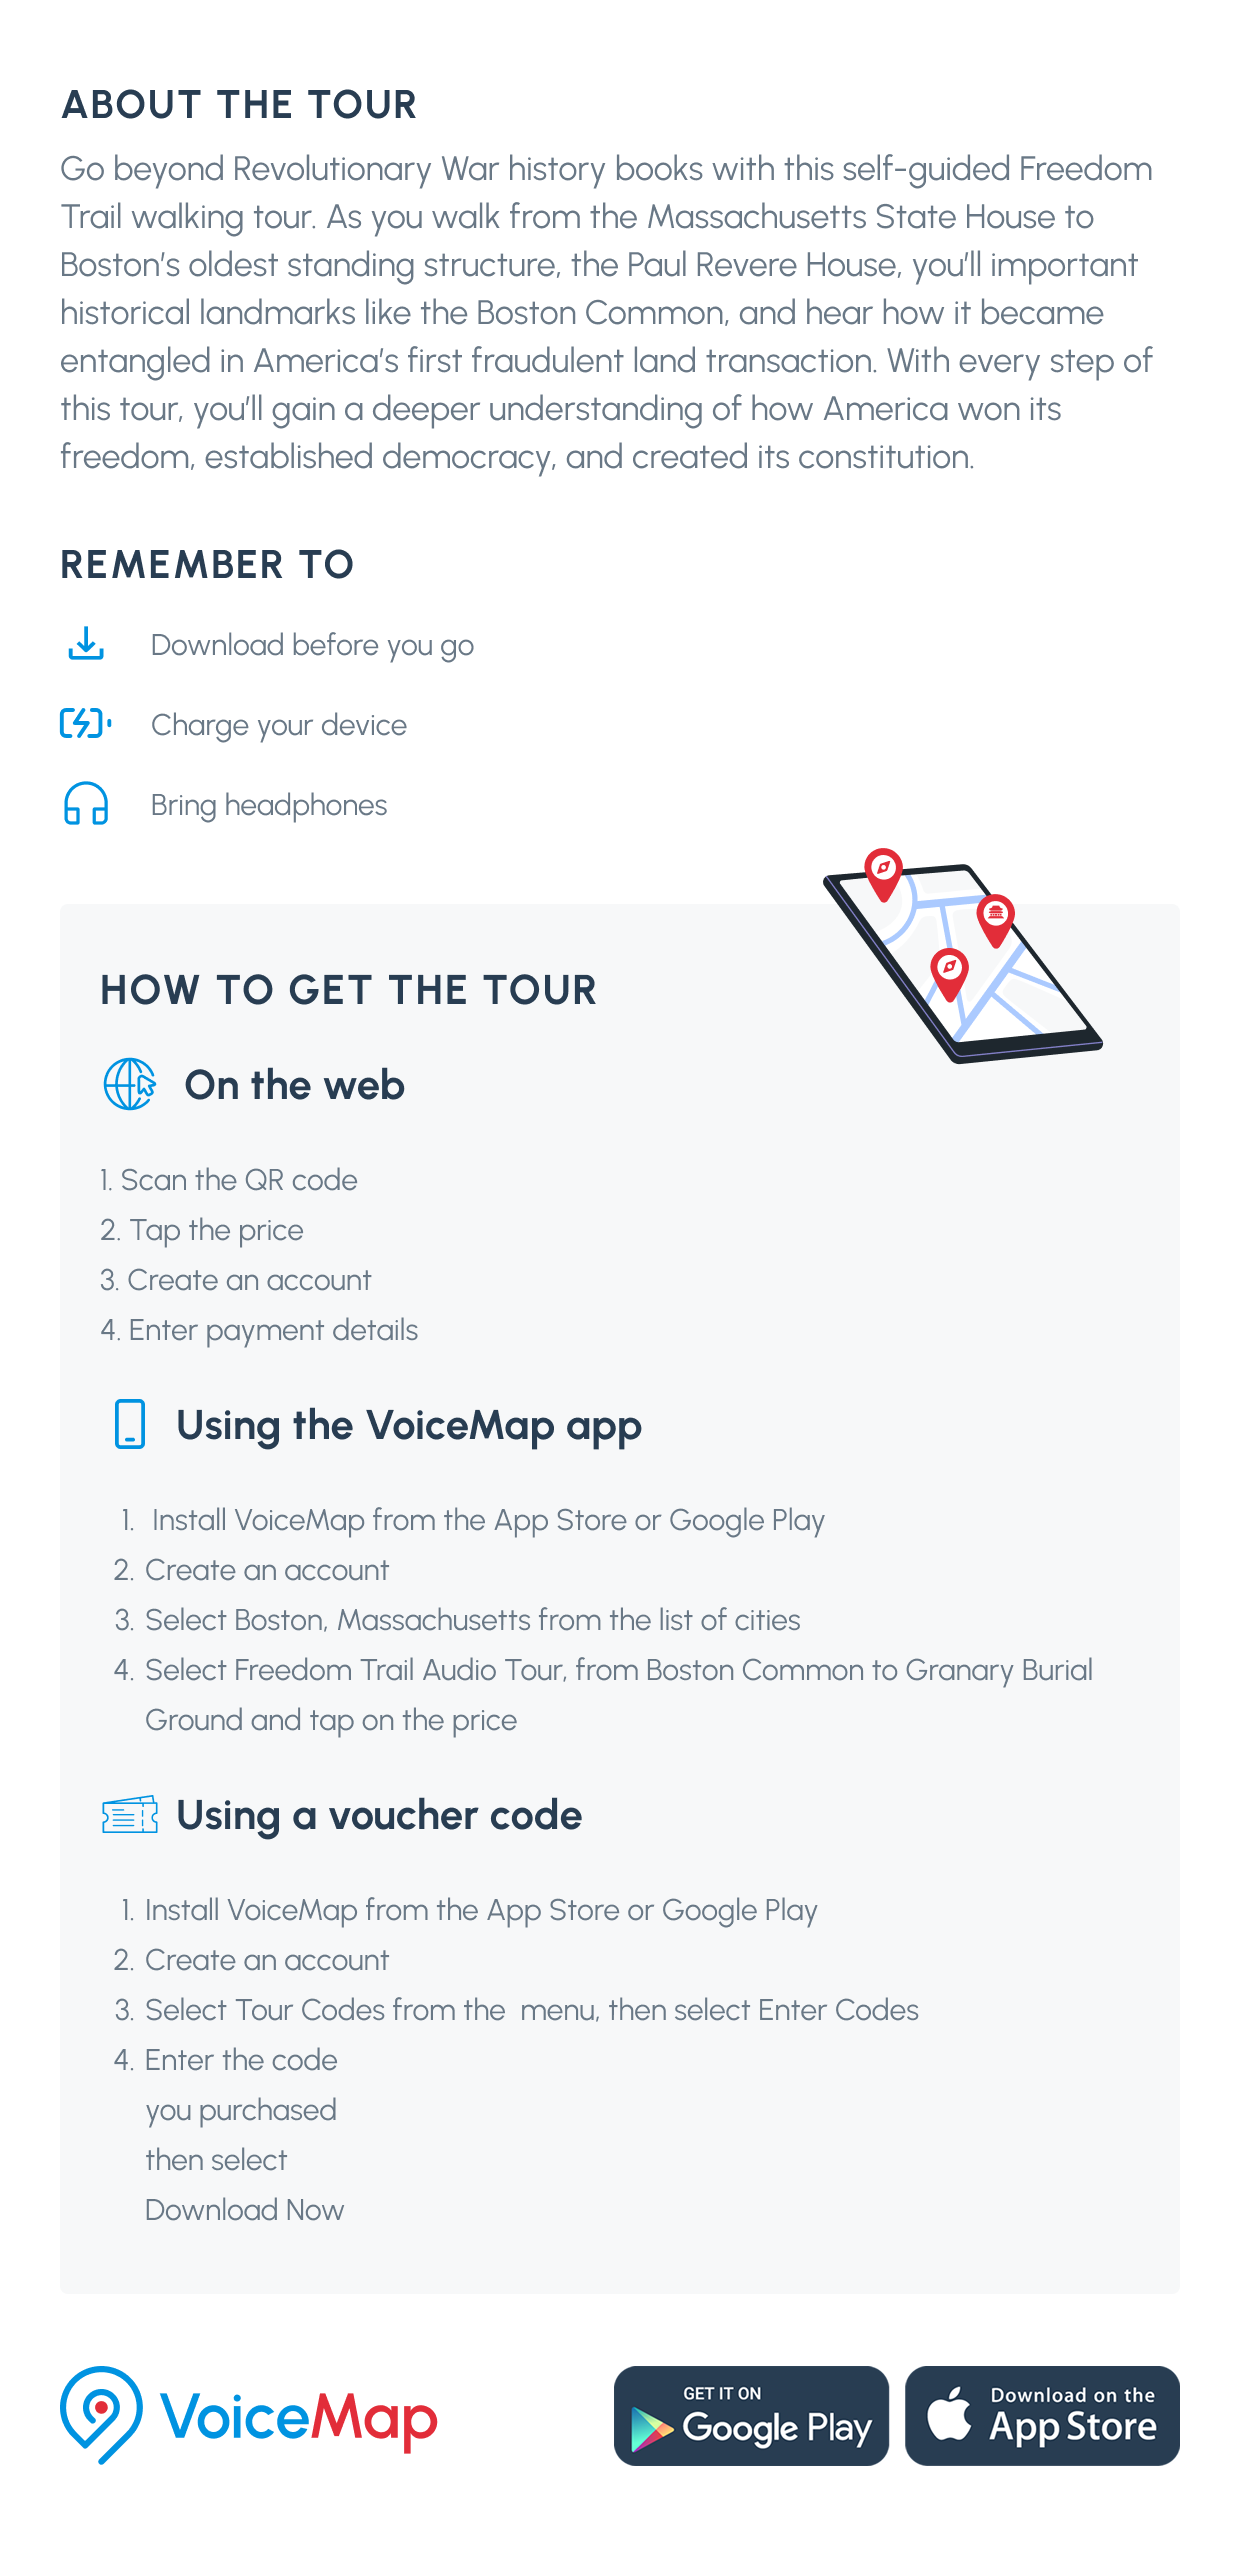 |
|---|
To create your flyer
- Open your tour in MapMaker, go to the Distribution tab and click the Printed Materials tab, on the far right.
- Click Edit Flyer. This opens the front of the flyer.
- Check the fields on the front, which are filled in from your tour automatically, and add your Tour Attractions (see below).
- Click Update to refresh the preview, then Enlarge Preview to check the details. Your changes aren't saved until you click Update, so do this before you move to the back or leave the page.
- Click Download PDF (Front). This button only becomes available once you've added your Tour Attractions.
- Click Next: Back of Flyer.
- Check your About the tour paragraph, then click Update.
- Click Download PDF (Back).
You can customise these fields
- Cover Image: Use your tour's cover image, or upload a high-resolution JPG (1920 x 622px, under 2MB). Avoid AI-generated images so your materials reflect the real tour.
- Tour Title: There's a 45-character limit, which is shorter than on the poster. Keep it recognisable as the same tour, and try including words like "audio tour" or "self-guided".
- Publisher and Publisher Picture: These come from your publisher profile. To change them, update your profile, then click Update here.
- Duration and Distance: Keep these consistent with your final touches. Duration has a 16-character limit so it prints on one line.
- Price: This defaults to your tour's price in US dollars. To show the price in your destination's currency, select the currency from the dropdown and enter the amount. You can check your tour's price in that currency on voicemap.me, using the currency selector next to My Account.
- Starting Point: Use the same address or landmark as in MapMaker, so people don't arrive in the wrong spot. There's a 70-character limit, so write an address rather than directions.
- Tour Attractions: Choose three recognisable, specific landmarks from the Major Landmarks list you set up for your tour. Each one has a 25-character limit.
- About the tour: This is the only field on the back. Write a short, single paragraph of up to 500 characters that covers your tour's main themes.
Square mini card
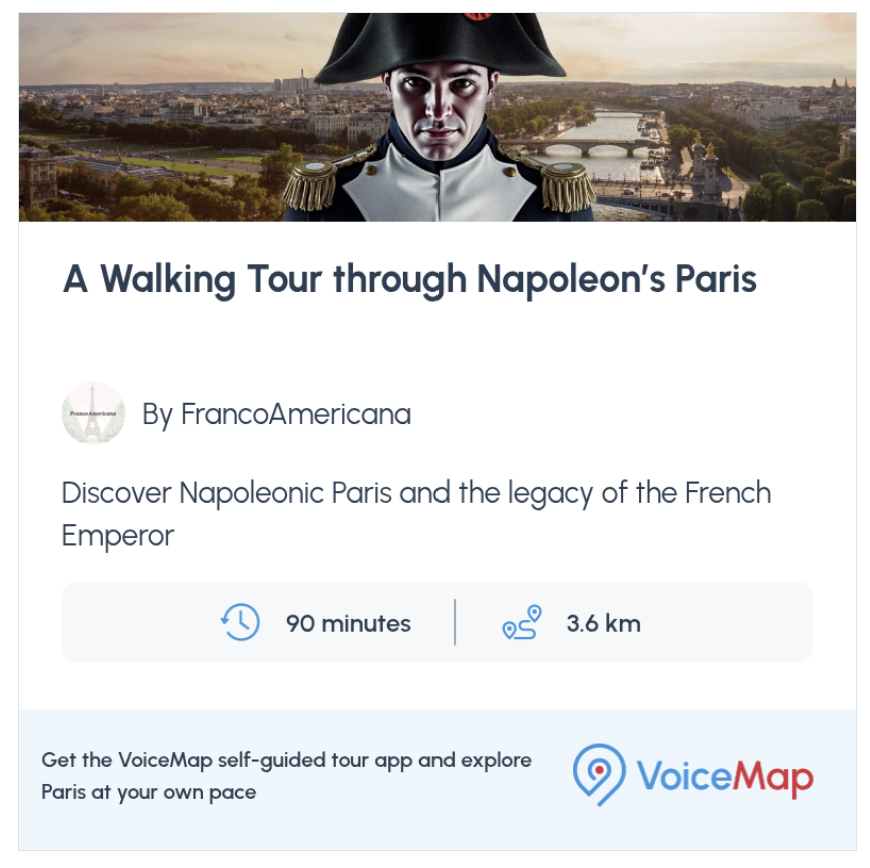
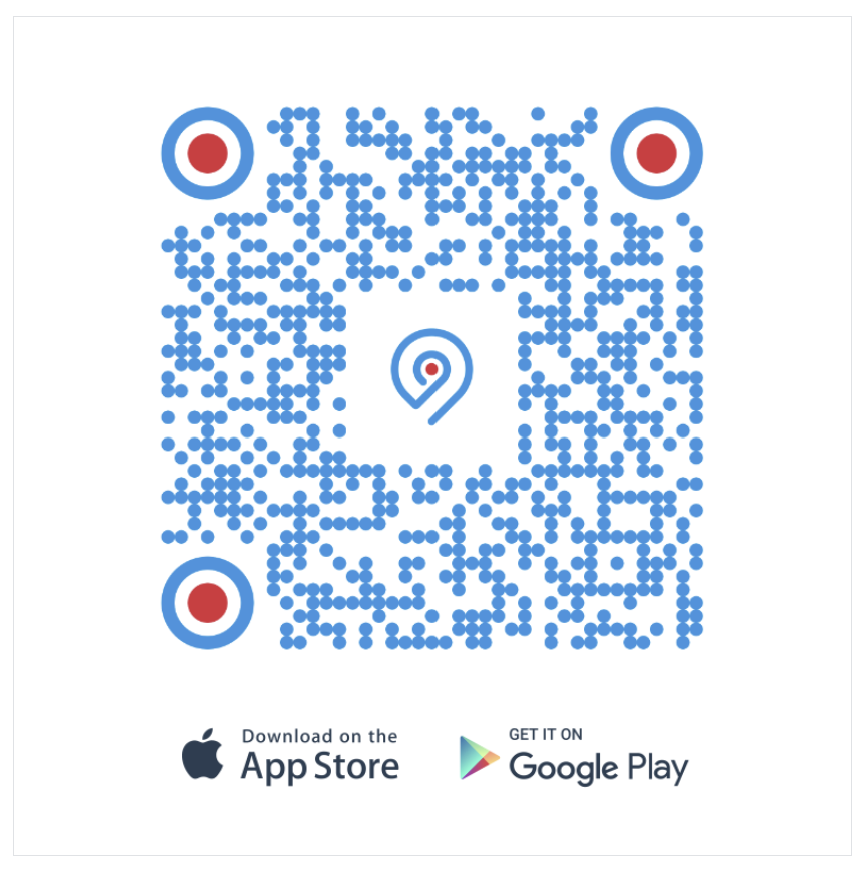
The mini card is 64 x 64mm (2.5 x 2.5in), and has two sides, which you download as two separate PDFs. Here’s an example:
 |
 |
|---|
To create your mini card
- Open your tour in MapMaker, go to the Distribution tab and click the Printed Materials tab, on the far right.
- Click Edit Mini Card. This opens the front of the card.
- Check the fields on the front, which are filled in from your tour automatically (see below).
- Click Update to refresh the preview, then Enlarge Preview to check the details. Your changes aren't saved until you click Update, so do this before you move to the back or leave the page.
- Click Download PDF (Front).
- Click Next: Back of Mini Card.
- Click Download PDF (Back).
On the front, you can customise these fields
- Cover Image: Use your tour's cover image, or upload a high-resolution JPG (1920 x 622px, under 2MB). Avoid AI-generated images so your materials reflect the real tour.
- Tour Title: There's a 55-character limit. Keep it recognisable as the same tour but shorter than your full title, and try including words like "audio tour" or "self-guided".
- Publisher and Publisher Picture: These come from your publisher profile. To change them, update your profile, then click Update here.
- Duration and Distance: Keep these consistent with your final touches. Duration has a 16-character limit so it prints on one line.
The short Summary line is fixed and can't be edited. The back shows your tour's QR code, ready to use as it is.
Where to place your printed materials
Always ask permission before putting up posters in businesses or public spaces, and check back regularly, since posters often get taken down or covered up. Places that tend to work well include hotels and hostels near your tour's starting point, tourist information centres, cafes, shops and cultural venues on or near your route, and transport hubs such as train stations and airports.
Square mini cards work well anywhere a poster or flyer won't fit, such as reception desks and checkout counters. You can also add them to welcome packs, or tuck them into a menu or a hotel room information folder.
Design your own materials
If you'd like to create something of your own, such as digital marketing, table tents or other promotional material that references VoiceMap, please use the VoiceMap logo pack.
A few things will make your design more effective:
- Include a QR code. This makes it easy for people to go straight to your tour. You'll find your tour's QR code in the QR Codes tab of your Distribution tab. There's more on this in Using QR codes for tours and individual locations.
- Keep it simple. A clear headline, an attractive image, a QR code and brief instructions are all you need.
- Mention the location. People are more likely to be interested if they can see your tour is about somewhere nearby.